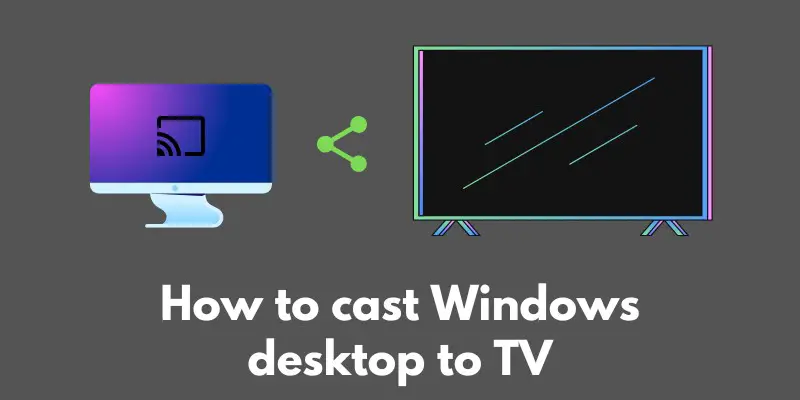
Are you tired of hunching over your tiny laptop screen or squinting at your desktop monitor? Want to kick back on your couch and enjoy your favorite movies, TV shows, and online content on the big screen?
Look no further, because today we’re talking about how to cast your Windows desktop to your TV.
Casting refers to the process of sending audio and video from one device to another. In this case, we’ll be using your Windows desktop as the source and your TV as the destination.
By casting your Windows desktop to your TV, you can easily share your favorite media with friends and family, or simply enjoy a more immersive viewing experience.
So grab your favorite snack, sit back, and let’s get started on how to cast your Windows desktop to your TV!
Setting up your Windows desktop and TV for casting
Alright, let’s start setting things up so you can start enjoying your favorite content on the big screen!
Step 1:
Check if your TV has a built-in casting feature. Many modern TVs come with built-in casting capabilities, such as Chromecast.
If your TV has a Chromecast feature, you’ll see a “Cast” icon on the screen when you try to cast from a compatible device. If you see this icon, skip to Step 3.
Step 2:
If your TV does not have a built-in casting feature, check if your Windows desktop has a built-in casting feature.
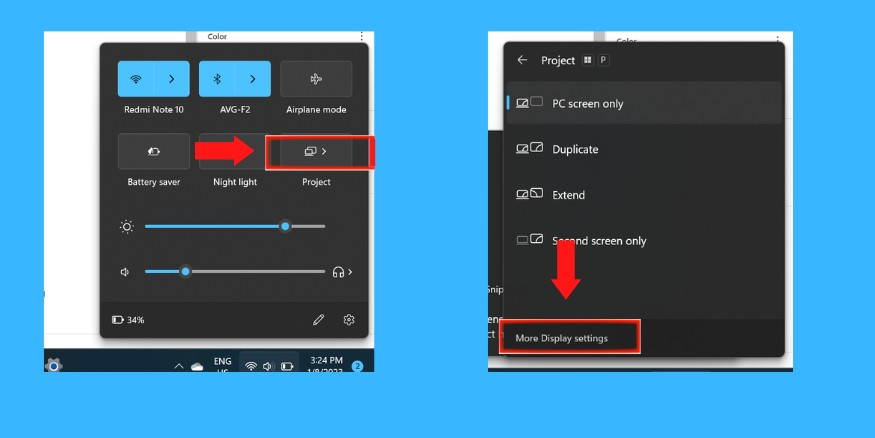
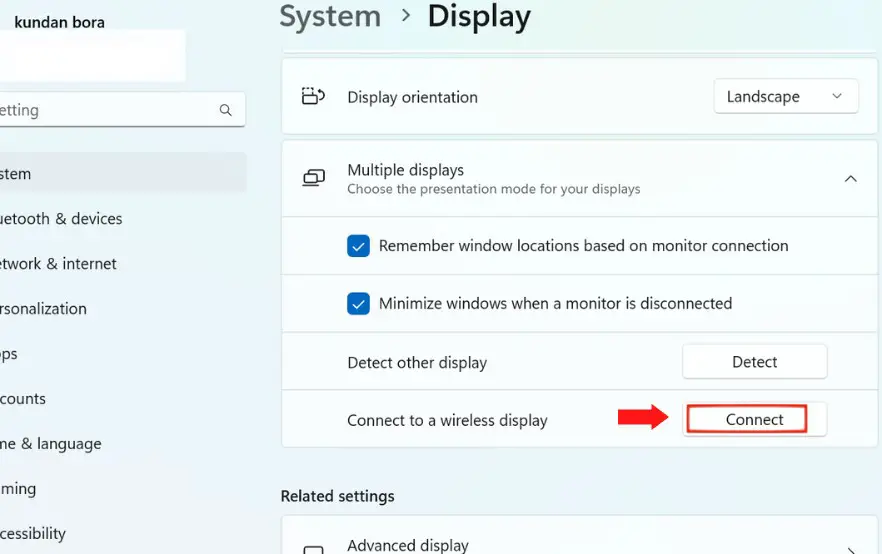
Windows has a feature called “Project to a wireless display” that allows you to cast your desktop to a TV or other display.
To use this feature, click on the Start menu and type “Project to a wireless display” into the search bar. This will bring up the “Project” settings where you can select your TV as the destination.
Step 3:
If neither your TV nor your Windows desktop have a built-in casting feature, consider purchasing a separate casting device. There are many options available on the market, such as Chromecast, Amazon Fire Stick, and Roku.
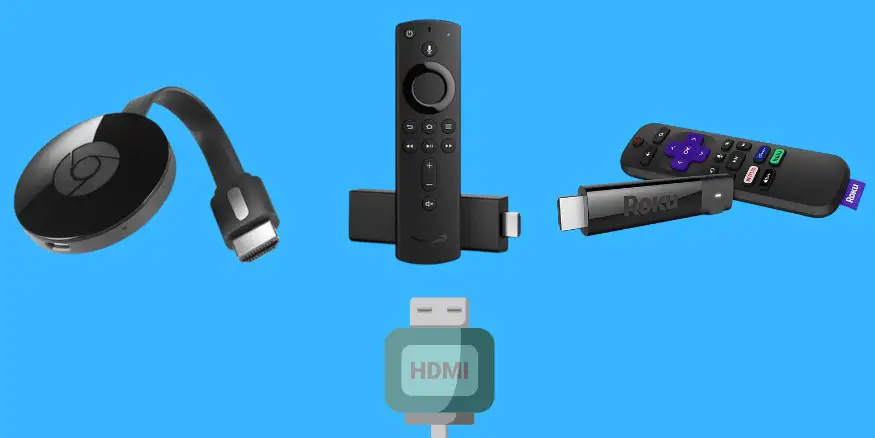
These devices plug into your TV’s HDMI port and allow you to cast from your Windows desktop or other compatible devices. Simply follow the manufacturer’s instructions to set up the device and start casting.
And that’s it! You’re now ready to start casting your Windows desktop to your TV. In the next section, we’ll go over the actual steps to get things up and running. Hang tight!
Casting your Windows desktop to your TV
Alright, now it’s time for the fun part: actually casting your Windows desktop to your TV! Here’s what you need to do:
Step 1:
Make sure that both your Windows desktop and TV are connected to the same WiFi network. This is essential for the casting process to work, as it allows the two devices to communicate with each other.
If you’re not sure how to connect your TV to Wi-Fi, refer to your TV’s user manual or manufacturer’s website for instructions.
Step 2:
On your Windows desktop, open the casting feature (either the built-in “Project to a wireless display” feature or a separate device such as Chromecast). Select your TV as the destination to which you want to cast.
Next Step:
Step 3:
Sit back and enjoy! Your Windows desktop should now be displayed on your TV.
You should be able to control the playback of your media from your Windows desktop, as well as from your TV’s remote if it has built-in casting capabilities.
And that’s it! You’re now casting your Windows desktop to your TV and enjoying your favorite content on the big screen.
In the next section, we’ll go over some tips and troubleshooting steps to help ensure a smooth and seamless experience. Happy casting!
Tips and troubleshooting
Now that you’ve set up your Windows desktop and TV for casting and successfully cast your desktop to your TV, here are a few tips and troubleshooting steps to help ensure a smooth and seamless experience:
- Make sure to keep your Windows desktop and TV within close proximity to your WiFi router to ensure a strong connection. A weak or unstable connection can cause issues with casting, such as choppy playback or disconnections.
- If you are having trouble casting, try restarting both your Windows desktop and TV and trying again. Sometimes a simple reboot can fix any issues you may be experiencing.
- If the above steps do not work, try searching for specific troubleshooting steps for your particular casting device or method. Each device or method may have its own unique issues and solutions, so it’s always a good idea to check the manufacturer’s website or online forums for assistance.
We hope these tips help you troubleshoot any issues you may encounter while casting your Windows desktop to your TV. If you have any other questions or concerns, don’t hesitate to reach out! Happy casting!
Conclusion
Well, that’s it! You now know how to cast your Windows desktop to your TV and enjoy your favorite content on the big screen. We hope these steps were helpful and that you’re now enjoying a more immersive viewing experience.
To recap, here are the steps involved in casting your Windows desktop to your TV:
- Check if your TV has a built-in casting feature, or if your Windows desktop has a built-in casting feature such as “Project to a wireless display.”
- If neither your TV nor your Windows desktop have a built-in casting feature, consider purchasing a separate casting device such as Chromecast, Amazon Fire Stick, or Roku.
- Make sure both your Windows desktop and TV are connected to the same Wi-Fi network.
- On your Windows desktop, open the casting feature and select your TV as the destination.
- Sit back and enjoy! Your Windows desktop should now be displayed on your TV.
We hope you found this tutorial helpful and that you’re now ready to start casting your Windows desktop to your TV. If you have any questions or need further assistance, don’t hesitate to reach out. Happy casting!