Are you tired of your documents looking cluttered and unorganized? Well, let me tell you, formatting is key to making your documents look professional and easy to read.
And today, we’re going to dive into one of the most basic yet important formatting elements: using indents for paragraphs in Google Docs!
Indents may seem like a small detail, but they can make a big difference in the overall look and feel of your document. Indents help to emphasize certain information and create a sense of hierarchy within the text.
They can make it easier for readers to follow the flow of your document and find the information they need quickly.
In this post, we’re going to explore how to use indents in Google Docs, including step-by-step instructions and shortcut key methods.
We’ll also go over some best practices for using indents in your documents, so you can make sure your documents look polished and professional.
So, whether you’re a tech blogger, a technical writer, or just someone who wants to improve their document formatting skills, this post is for you!
How to create an indent in a paragraph in Google Docs
Alright, now that we’ve covered the importance of using indents in your documents, let’s get into the nitty-gritty of how to create an indent in a paragraph in Google Docs.
First, let’s start with the step-by-step instructions. It’s super simple, I promise!
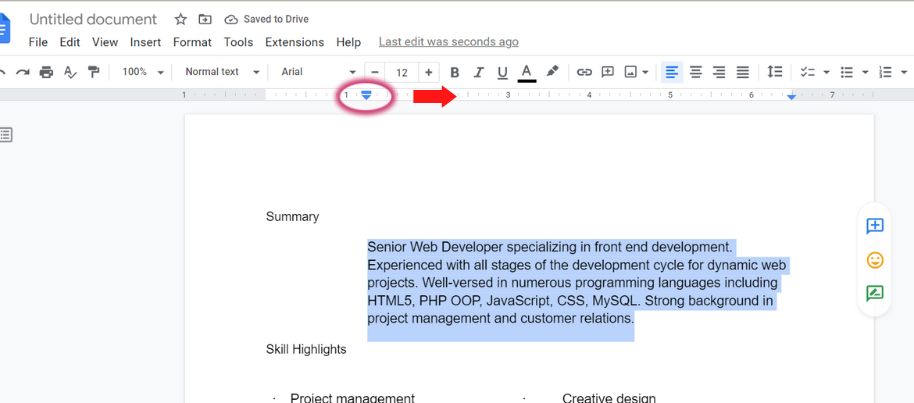
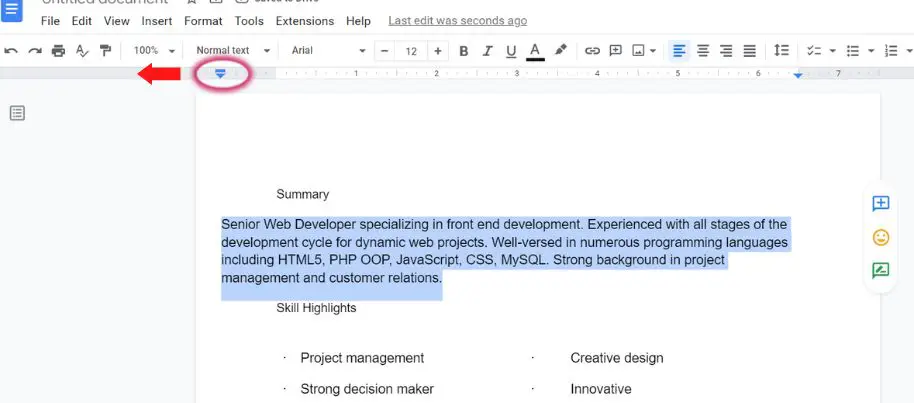
- First, select the text you want to indent.
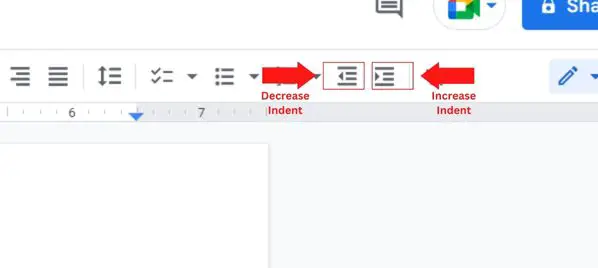
- Next, you’ll see a toolbar at the top of your screen. Look for the button that looks like a right-pointing arrow with a horizontal line next to it. This is the “Increase indent” button.
- Click the “Increase indent” button and voila! Your selected text will now have an indent.
Now, let’s talk about the shortcut key method. This is perfect for those of you who love to work quickly and efficiently.
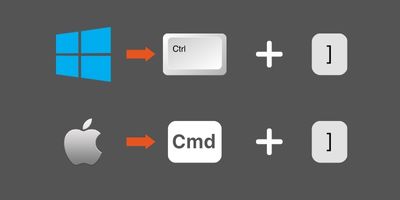
All you have to do is use the keyboard shortcut “Ctrl + ]” (Windows) or “Cmd + ]” (Mac) while your text is selected, and the indent will be created.
As you can see, creating an indent in a paragraph in Google Docs is a piece of cake. Whether you prefer using the toolbar or shortcut keys, you’ll be able to create indents in no time.
Give it a try and see how it can elevate the look of your documents!
How to adjust or remove an indent in a paragraph in Google Docs
Now that you know how to create an indent in a paragraph in Google Docs, let’s talk about how to adjust or remove an indent.
Whether you’ve indented too much or too little, or you’ve changed your mind about using an indent at all, it’s easy to make adjustments.
First, let’s go over the step-by-step instructions for adjusting an indent.
- Select the text that has the indent you want to adjust.
- Look for the button that looks like a left-pointing arrow with a horizontal line next to it. This is the “Decrease indent” button.
- Click the “Decrease indent” button and your indent will be reduced.
- Repeat steps 2 and 3 as many times as necessary to adjust the indent to your desired level.
Now, let’s talk about the shortcut key method. This one is just as easy as the previous one! All you have to do is use the keyboard shortcut “Ctrl + [“ (Windows) or “Cmd + [“ (Mac) while your text is selected, and the indent will be reduced.
Removing the indent is just as easy as adjusting it. Just follow the above steps and keep decreasing the indent until it is completely removed.
As you can see, adjusting and removing indents in Google Docs is a breeze. Whether you prefer using the toolbar or shortcut keys, you’ll be able to make adjustments to your indents in no time.
Give it a try and see how easy it is to get your documents looking just the way you want them!
Best practices for using indents in Google Docs
Now that you know how to create, adjust, and remove indents in Google Docs, it’s time to talk about best practices for using indents in your documents.
By following these best practices, you can ensure that your documents look polished, professional, and easy to read.
First, let’s talk about consistency in document formatting. When it comes to indents, it’s important to be consistent in how you use them throughout your document.
For example, if you’re indenting the first line of each paragraph, make sure you do this for every paragraph in the document. This will create a sense of cohesiveness and make your document look more polished.
Next, let’s talk about the appropriate use of indents for emphasis and organization. Indents are a great way to create a sense of hierarchy within your text.
By indenting certain information, you can make it stand out and draw the reader’s attention to it. For example, you can use indents to set off a quote or to create a bullet point list.
Additionally, indents can help to organize your document by separating different sections or levels of information.
As you can see, by following these best practices for using indents in Google Docs, you can make sure your documents look professional and easy to read. Give it a try and see how it can elevate the look of your documents!
Conclusion
And there you have it, tech fans! By now, you should have a solid understanding of how to use indents for paragraphs in Google Docs.
We’ve covered the importance of formatting in documents, how to create, adjust, and remove indents, and best practices for using indents in your documents.
To summarize, we’ve discussed:
- The importance of formatting in documents
- How to create an indent in a paragraph in Google Docs (step-by-step instructions and shortcut key method)
- How to adjust or remove an indent in a paragraph in Google Docs (step-by-step instructions and shortcut key method)
- Best practices for using indents in Google Docs (consistency in document formatting, appropriate use of indents for emphasis and organization)
If you’re interested in learning more about formatting in Google Docs, there are plenty of additional resources available online. You can find tutorials, articles, and videos that cover a wide range of topics.
But the most important thing is to put what you’ve learned into practice. So, I encourage you to take the techniques we’ve discussed and give them a try in your own documents.
You’ll be amazed at how much of a difference proper formatting can make in the overall look and feel of your documents. Happy formatting!


