
Google Classroom is a cloud/web-based platform that is available both in the mobile app as well as in browsers.
By default, the profile image on your Google Classroom is a letter that corresponds to the first letter of your name.
If you want to change your profile picture in Google Classroom using a mobile app, this tutorial will provide you with step-by-step instructions on doing that.
If you are using a browser such as Google Chrome to access Google Classroom, then still this tutorial will be helpful for you as I will cover how to change your profile pic on Google Classroom using a desktop as well.
So let’s begin:
Change Your Profile Pic on Google Classroom using Mobile Apps
Step 1: Open the “Google Classroom” app from your mobile phone.

Step 2: Open the “Menu” located on the top left-hand side of your mobile screen. You now need to click or tap the 3 horizontal lines in order to open the Menu section.
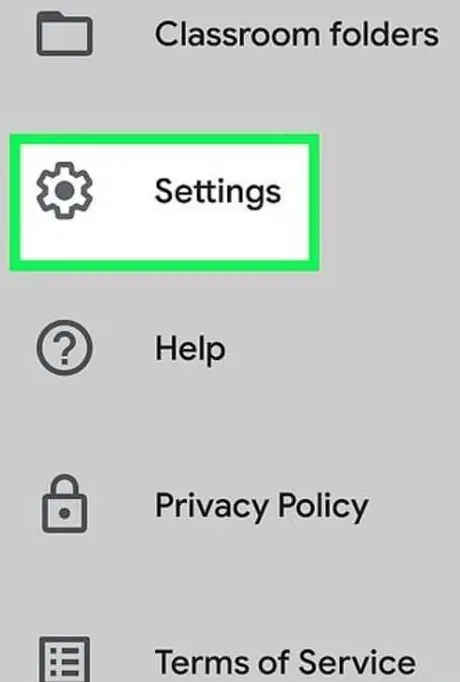
Step 3: Click the “Settings” icon from the drop-down list that comes after clicking the Menu section.
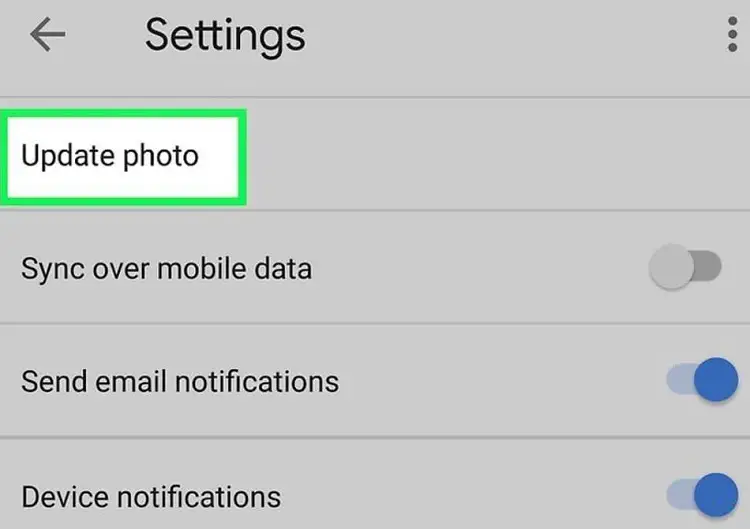
Step 4: Select the “Update Photo” option from the drop-down menu. Please note that if you are an iPad or iPhone user, you must first click on “Account Settings” before you click on “Update Photo“.
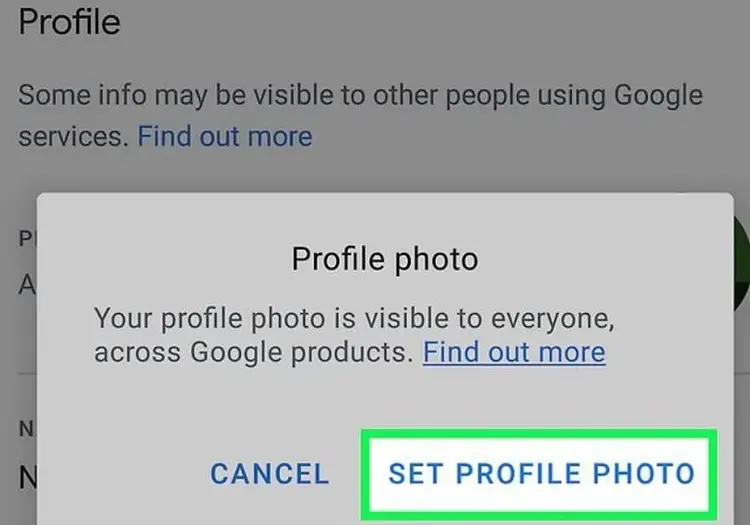
Step 5: Now you need to click on “SET PROFILE PHOTO” from the pop-up that comes up. Your profile photo will be visible to everyone across all the Google products.
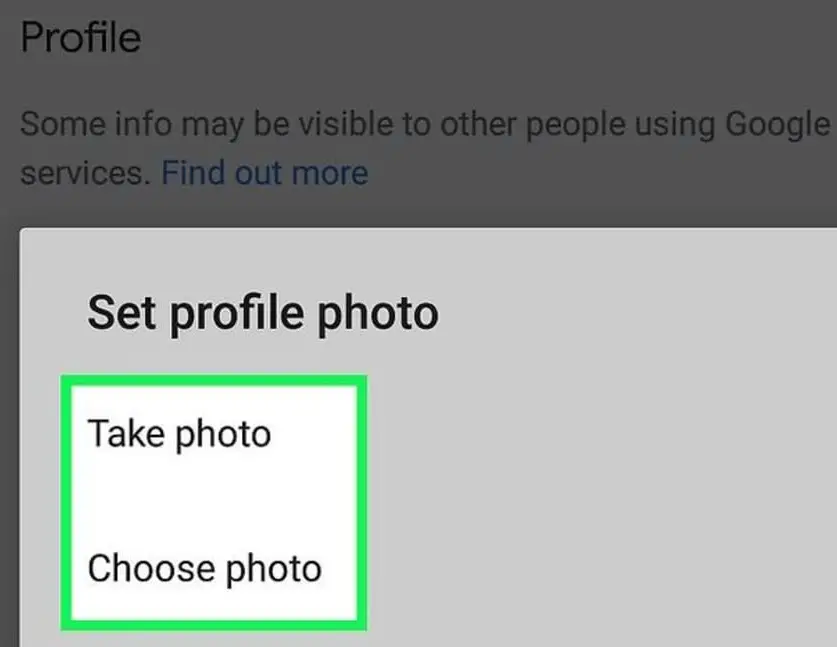
Step 6: Now you need to click “Take photo” or “Choose photo” options. If you choose the “Take photo” option, the camera will open and you can take your own picture, however, if you select the “Choose photo” option, it allows you to upload your already existing images from your mobile phone.
Some points to keep in mind are that your profile pic should be in JPEG and PNG formats and make sure that the size of the photo is 5 MB or less than that.
So once you are taken a decision on which photo to change, you need to click “Accept” or “Done” buttons. Doing this will enable you to save your new profile picture in the Google Classroom account.
Keep in mind that, it can take a few days for this profile photo update to take place across all Google products.
Congrats! you have successfully changed the Profile Picture on Google Classroom using the mobile application.
Change Your Profile Picture on Google Classroom using a Browser

Step 1: Go to Google Classroom to access your account.
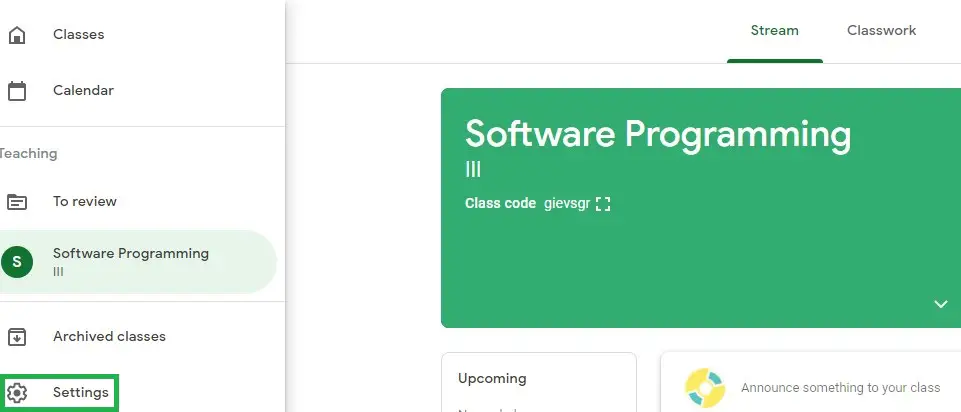
Step 2: Click “Settings” section after clicking the three horizontal lines.
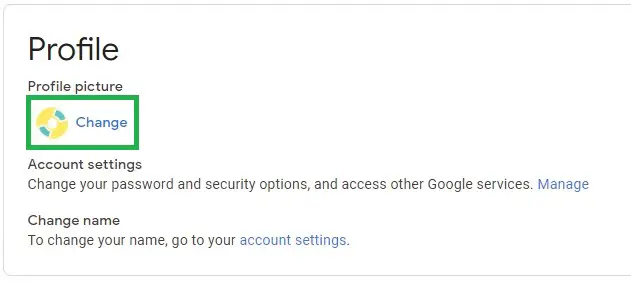
Step 3: Under Profile section, now click the “Change” button next to your profile picture.
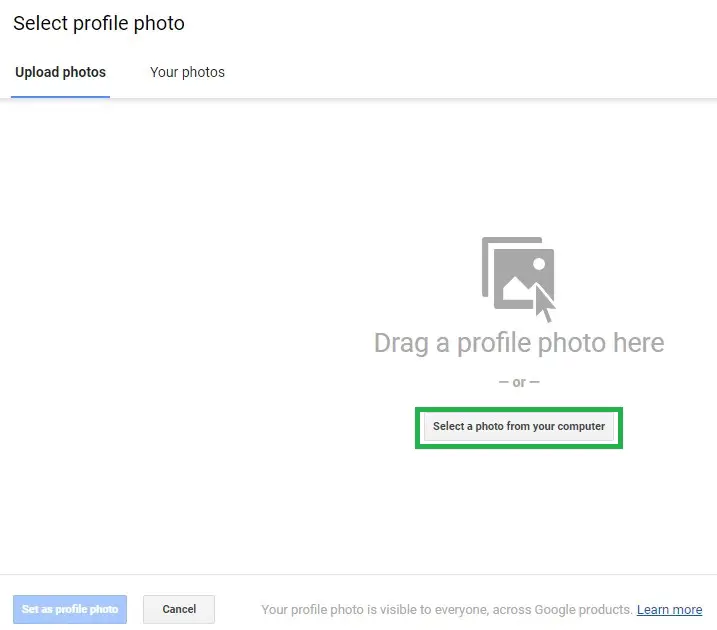
Step 4: You need to click the “Select a photo from your computer” option as highlighted above. After clicking it, your file browser window will open for you to select the photo and upload it.
There is another way for you to upload the profile pic by using drag-and-drop to drag a profile photo section. Ensure that the photo size is 5 MB or less and you are using JPEG and PNG image file formats.

Step 5: You can resize your photo by dragging and dropping the box over your profile photo. Now click the “Set as profile photo” button and you will be redirected back to your Google Classroom profile’s settings page.
Your profile picture will change, however in case it is not updated, wait and refresh after some time and your profile image will be changed in your profile.
Well done! your Profile Picture on Google Classroom has been changed using browser.
I hope you found this article useful.
You can also read our other powerful tutorials on this blog!
Also Read: How to Create a Signature on Gmail?