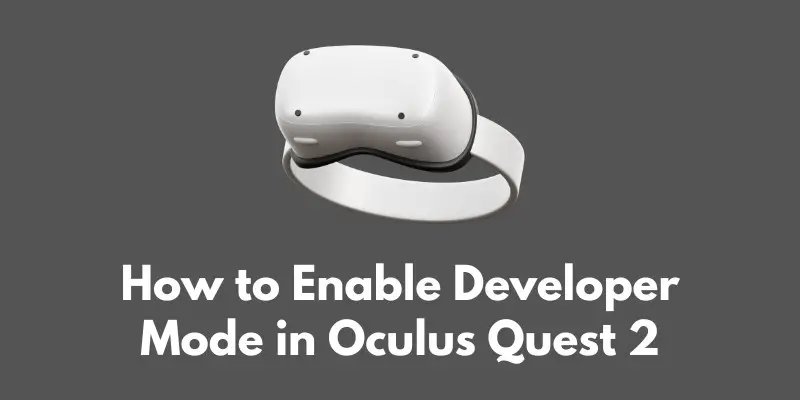
Are you looking to unlock the full potential of your Oculus Quest 2?
One way to do so is by enabling developer mode.
With developer mode enabled, you’ll be able to install custom apps and use ADB (Android Debug Bridge) to test and debug your own VR experiences.
Whether you’re a seasoned developer or just starting out, enabling developer mode on your Oculus Quest 2 can open up a whole new world of possibilities.
In this blog post, we’ll walk you through the process of enabling developer mode step by step, and offer some tips and troubleshooting advice along the way.
So, if you’re ready to take your Oculus Quest 2 to the next level, let’s get started!
Prerequisites
Before you can enable developer mode on your Oculus Quest 2, there are a few things you’ll need to have on hand.
Here’s a list of prerequisites to keep in mind:
- A Facebook account: In order to enable developer mode on your Oculus Quest 2, you’ll need to have a Facebook account and be logged into it on your device. If you don’t already have a Facebook account, you can create one for free at https://www.facebook.com.
- A computer with ADB installed: ADB (Android Debug Bridge) is a command-line tool that allows you to communicate with your Oculus Quest 2 from your computer. In order to use ADB, you’ll need to have it installed on your computer. You can download ADB by following the instructions on the Android developer website.
- A USB-C cable: You’ll need a USB-C cable to connect your Oculus Quest 2 to your computer. Any USB-C cable will do, so long as it’s long enough to reach from your computer to your Oculus Quest 2.
With these prerequisites in place, you’ll be ready to enable developer mode on your Oculus Quest 2.
In the next section, we’ll walk you through the process step by step.
Step-by-step Instructions
Enabling developer mode on your Oculus Quest 2 is a straightforward process that just requires a few steps.
Here’s how to do it:
- Open the Oculus app on your smartphone and log in with your Facebook account.
- Navigate to the settings menu and select your Oculus Quest 2 from the list of devices.
- Scroll down to the bottom of the device settings page and find the “Developer Mode” section.
- Toggle the “Developer Mode” switch to the “On” position.
- Follow the on-screen instructions to link your Oculus Quest 2 to your Facebook account.
- On your computer, open a terminal window and enter the command “adb devices”. This will display a list of connected devices, including your Oculus Quest 2.
- If your Oculus Quest 2 is not listed, make sure it is turned on and connected to your computer via USB-C cable. Then, enter the command “adb reboot” to reboot your device and try the “adb devices” command again.
Once you’ve completed these steps, developer mode will be enabled on your Oculus Quest 2.
From here, you’ll be able to install custom apps and use ADB to test and debug your own VR experiences.
In the next section, we’ll offer some tips and troubleshooting advice to help you make the most of developer mode.
Tips and Troubleshooting
Congratulations on enabling developer mode on your Oculus Quest 2! With developer mode enabled, you’ll be able to unlock the full potential of your device and experiment with custom apps and VR experiences.
Here are a few tips and troubleshooting suggestions to help you get the most out of developer mode:
- Make sure you have the latest version of the Oculus app and the latest firmware for your Oculus Quest 2. Developer mode may not work properly if you’re using an outdated version of the app or firmware.
- If you’re having trouble linking your Oculus Quest 2 to your Facebook account, try logging out of the Oculus app on your smartphone and logging back in again. If that doesn’t work, you may need to reset your device or contact Oculus support for assistance.
- If you’re experiencing any issues with ADB, make sure that you have the latest version of the Android SDK Platform-Tools package installed on your computer. You can download the latest version from the Android developer website.
- If you’re having trouble installing custom apps or running ADB commands, try rebooting your Oculus Quest 2 and your computer. Sometimes a simple reboot can resolve issues with ADB connectivity.
- If you’re still having trouble with developer mode, you may want to check out the Oculus developer forums or seek help from the Oculus developer community. There are many experienced developers and users who can offer advice and guidance on using developer mode on your Oculus Quest 2.
With these tips in mind, you should be well on your way to making the most of developer mode on your Oculus Quest 2.
Conclusion
In this blog post, we’ve walked you through the process of enabling developer mode on your Oculus Quest 2.
With developer mode enabled, you’ll be able to unlock the full potential of your device and experiment with custom apps and VR experiences.
To enable developer mode, you’ll need a Facebook account, a computer with ADB installed, and a USB-C cable. Once you’ve gathered these prerequisites, you can follow the step-by-step instructions to enable developer mode and link your Oculus Quest 2 to your Facebook account.
We’ve also offered some tips and troubleshooting advice to help you get the most out of developer mode on your Oculus Quest 2.
We hope this guide has been helpful, and that you’ll take the time to explore the many possibilities of developer mode on your Oculus Quest 2.
Whether you’re a seasoned developer or just starting out, there’s always more to learn and discover in the world of VR.
So go ahead and experiment with developer mode and custom apps – you never know what you might create!
