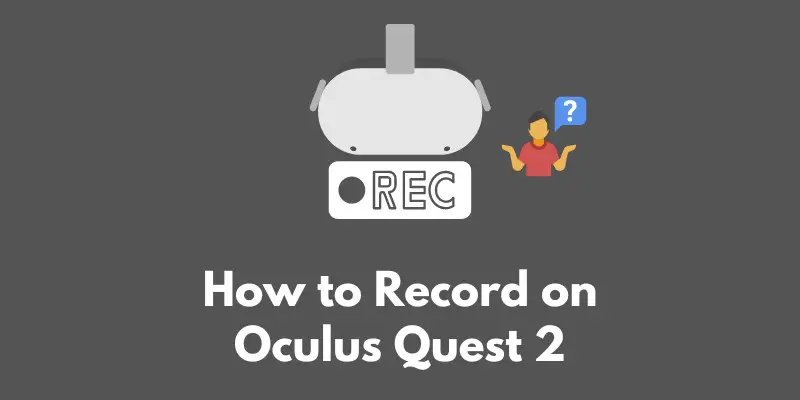
Are you looking to capture all of your epic VR adventures on the Oculus Quest 2?
Maybe you want to create a tutorial to share with others, or maybe you just want to save some memorable gameplay moments for posterity.
Whatever your reason, it’s easy to record on the Quest 2 using a free and open-source software called OBS Studio.
In this blog post, we’ll walk you through the steps to get started with recording on your Quest 2, from installing OBS Studio to hitting the record button.
By the end, you’ll be well on your way to creating your own VR content. So let’s dive in!
Step 1: Install the OBS Studio app on your PC
The first step to recording on your Oculus Quest 2 is to install the OBS Studio app on your PC.
OBS Studio is a free and open-source software that allows you to record video and live stream to platforms like YouTube and Twitch.
It’s a powerful and versatile tool that is widely used by content creators, and it’s perfect for recording VR gameplay on the Quest 2.
To get started with OBS Studio, visit the official website at https://obsproject.com/.
Click on the “Download” button to download the latest version of the software for your operating system.
Once the download is complete, double-click on the installer file to begin the installation process.
Follow the on-screen instructions to complete the installation.
Once OBS Studio is installed, launch the app and familiarize yourself with the interface.
There are a lot of different settings and options to explore, but you don’t need to worry about most of them right now.
Just make sure you know how to navigate the app and find your way around.
That’s it for this step!
In the next section, we’ll show you how to enable developer mode on your Oculus Quest 2, which is required in order to record on the device.
Step 2: Enable developer mode on your Oculus Quest 2
Before you can start recording on your Oculus Quest 2, you need to enable developer mode on the device.
Developer mode allows you to build and test your own VR experiences on the Quest 2, as well as access some advanced features that are not available to regular users.
To enable developer mode on the Quest 2, follow these steps:
- Open the Oculus app on your smartphone. This is the app that you used to set up your Quest 2.
- Tap on the “Settings” icon in the bottom right corner of the app.
- Scroll down to the “Device” section and tap on your Quest 2.
- Tap on the “More Settings” button.
- Tap on the “Developer Mode” toggle to turn it on.
- Follow the on-screen instructions to enter your Oculus account password and accept the developer mode terms of service.
That’s it! Developer mode is now enabled on your Quest 2.
In the next step, we’ll show you how to connect your Quest 2 to your PC in order to start recording.
Step 3: Connect your Oculus Quest 2 to your PC
Now that you have OBS Studio installed on your PC and developer mode enabled on your Oculus Quest 2, it’s time to connect the two devices together.
You’ll need to use a USB cable to connect the Quest 2 to your PC, which will allow OBS Studio to access the video feed from the Quest 2 and start recording.
To connect the Quest 2 to your PC, follow these steps:
- On your Quest 2, go to the “Settings” menu and select “Connections”.
- Tap on the “USB” option.
- Plug one end of the USB cable into your PC, and the other end into the Quest 2.
- The Quest 2 should automatically detect the connection and display a notification on the screen.
That’s it! Your Quest 2 is now connected to your PC.
In the next step, we’ll show you how to set up OBS Studio to record from the Quest 2.
Step 4: Set up OBS Studio to record from the Quest 2
Now that your Oculus Quest 2 is connected to your PC, it’s time to set up OBS Studio to record from the device.
OBS Studio has a lot of different settings and options, but don’t worry – we’ll walk you through the most important ones.
To set up OBS Studio to record from the Quest 2, follow these steps:
- Launch OBS Studio on your PC.
- In the “Sources” panel, click on the “+” button to add a new source.
- Select “Video Capture Device” from the list of options.
- In the “Create/Select Source” window, give your source a name (e.g. “Quest 2”) and click “OK”.
- In the “Properties” window, select “Oculus Quest 2” as the video capture device.
- Click on the “OK” button to close the window.
That’s it! OBS Studio is now set up to record from your Oculus Quest 2. In the next step, we’ll show you how to start recording.
Before you start recording, it’s a good idea to spend some time adjusting the various settings and options in OBS Studio to suit your needs.
For example, you can choose where to save your recordings, set the video and audio quality, and customize the interface.
Take some time to explore the app and get familiar with its features.
Step 5: Start recording on the Quest 2
Now that you have OBS Studio set up to record from your Oculus Quest 2, it’s time to start recording! To start recording, follow these steps:
- Make sure your Quest 2 is turned on and connected to your PC via the USB cable.
- In OBS Studio, click on the “Start Recording” button.
- The recording will begin immediately. You can see the elapsed time and the size of the recording in the bottom left corner of the OBS Studio window.
- To stop recording, click on the “Stop Recording” button.
That’s it! You can find your recorded video in the location that you specified in the OBS Studio settings.
There are a few additional settings and options that you might want to consider when recording on the Quest 2.
For example, you can adjust the video and audio quality, use hotkeys to start and stop recording, and set up multiple cameras or audio sources.
Take some time to experiment with these options and find the ones that work best for you.
Conclusion
Congratulations, you now know how to record on the Oculus Quest 2 using OBS Studio!
Whether you want to capture gameplay footage, create a tutorial, or just save some memorable moments, the Quest 2 is a great platform for creating and sharing VR content.
So go ahead and give it a try – we can’t wait to see what you come up with!


